What Are UVC Drivers?
Universal Video Class (UVC) drivers are AVStream Microsoft-provided mini drivers that give driver support to USB Video Class devices. These devices usually include digital camcorders or webcams. When your devices use UVC, you don’t need to supply a driver on your own. Instead, your device will work automatically with a driver that is provided by your system.
Venders don’t write drivers in the USB Video Class model. Alternatively, vendors use video streaming hardware according to specific guidelines in the USB UVC Definition for Video Devices Specification. You can find a link to those guidelines here. UVC drivers communicate directly with the hardware to determine its capabilities and operate the device without a proprietary driver. You also have the option of extending the UVC driver to add processing that is vendor specific.
However, sometimes you would be better off using drivers that are specifically made by the manufacturer.
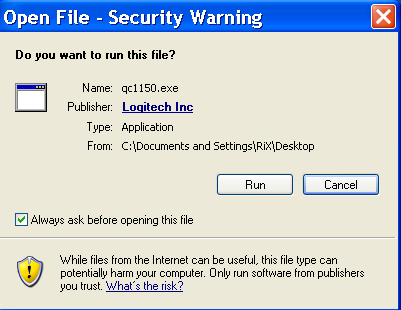
Below you will find instructions on how to update your UVC Drivers to Logitech drivers.
Updating Your Drivers
When you are using UVC drivers, the software you’re using will display the message below:
“You are using generic Windows (UVC) drivers, providing reduced functionality and support for your product….To get the best experience out of your webcam, please install Logitech drivers.”
To verify that UVC drivers is what you have installed, follow the steps below:
Step 1: Go to your Windows Device Manager
- You can do this by navigating to the “Start” menu
- Select “Control Panel”
- Click the “System” icon
- Click “Hardware”
- Click “Device Manager”
Step 2: Check the following component categories
- Sound, game and video controllers
- Imaging devices
- Universal Serial Bus (USB) controllers
Under each entry you should find entry reading “USB Video Device”
Please Note: if all of the entries show the phrase “USB Audio Device,” you will need to load every Logitech driver for every entry manually.
To update every USB Video Device entry, follow the steps below:
Step 1: Select the option that says Update Driver. Afterward the Hardware Update Wizard will show up. Select the option that reads “No, not this time” and then click on the button that reads “Next”.
Step 2: Select the option that says “Install from a list or specific location (Advanced)” and then pick “Next”.
Step 3: Select your Logitech device and click Next
Your drivers for your device will start the installation process.
Step 4: Once the installation process has ended, click Finish
Step 5: Select the Yes button to restart your system. You will need to do this so that your changes will take effect.